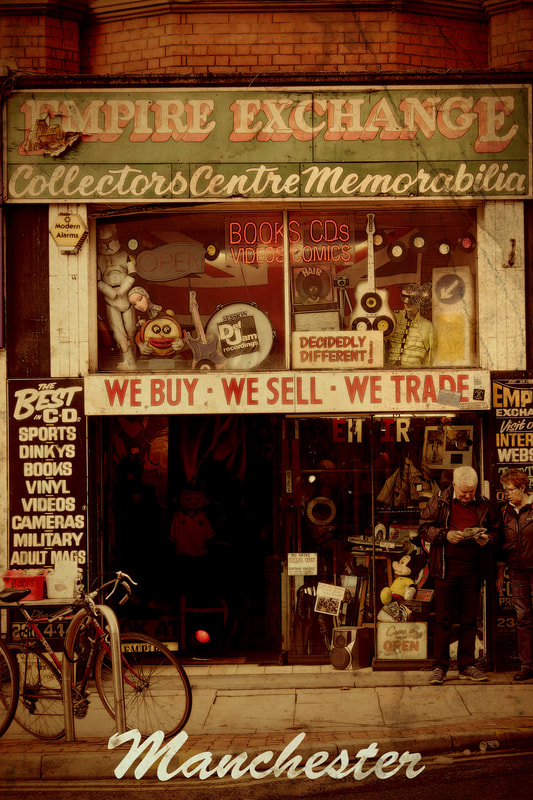
VINTAGE SHOP EDIT
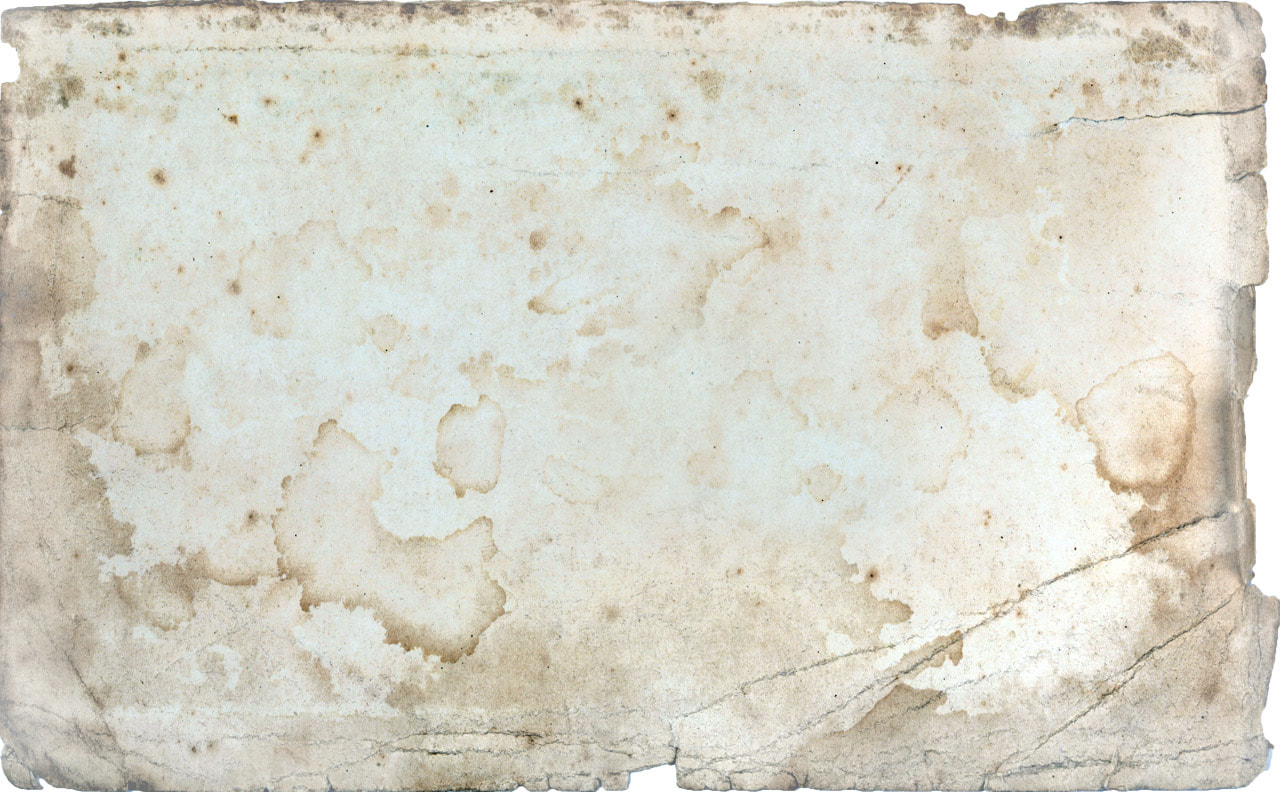
1. Download a paper texture image to use. Open this and the image on Photoshop.
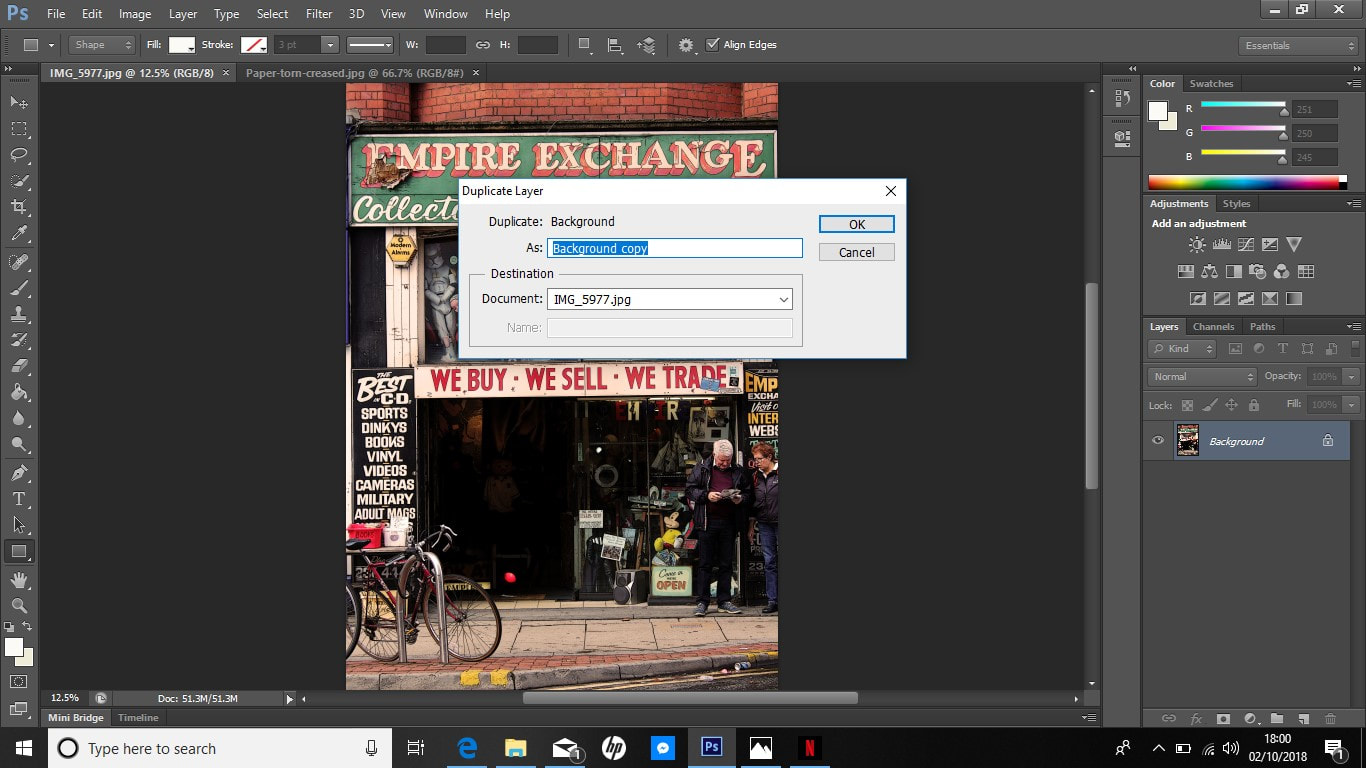
2. Copy 'Background' by left clicking on it and selecting 'Duplicated Layer'.
3. Create another layer by clicking the button that looks like a piece of paper with a folded corner in the bottom right of the screen.

4. Click colour and put brightness to 90.
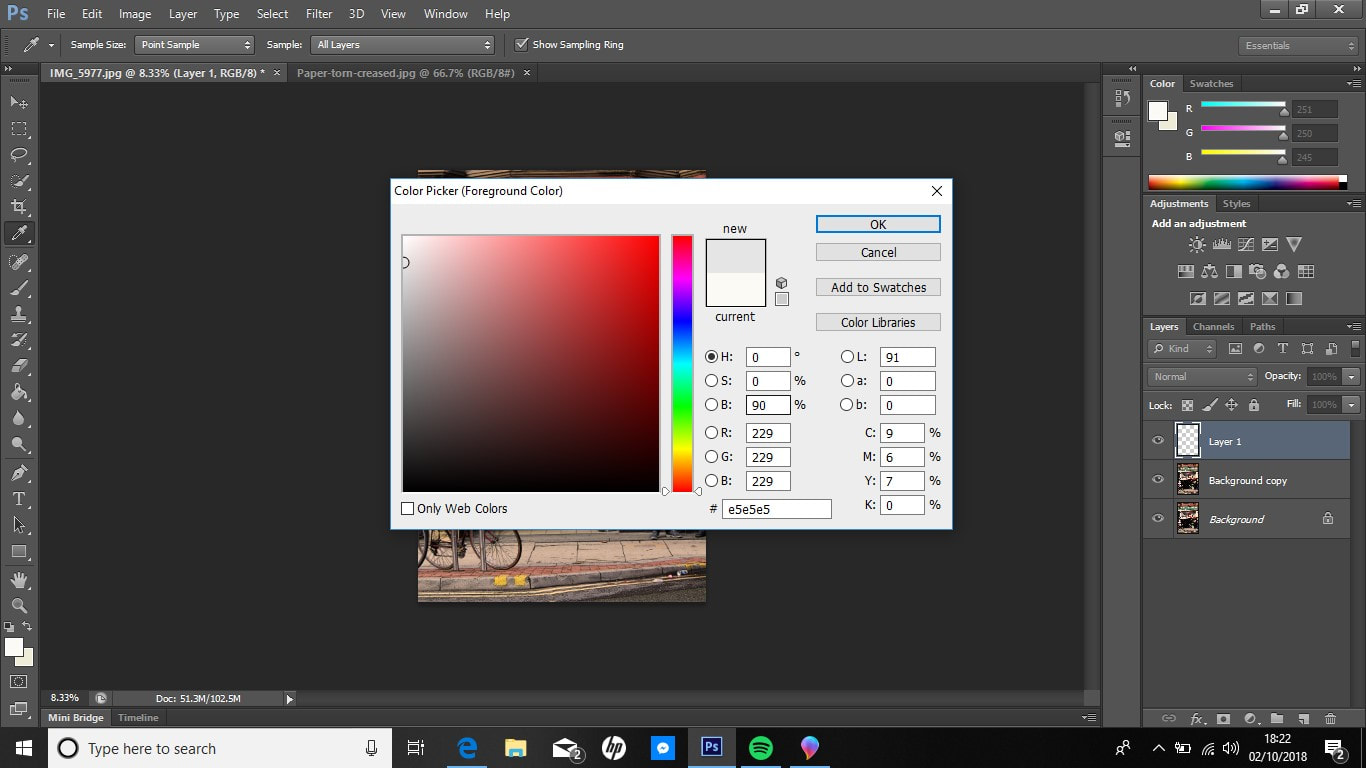
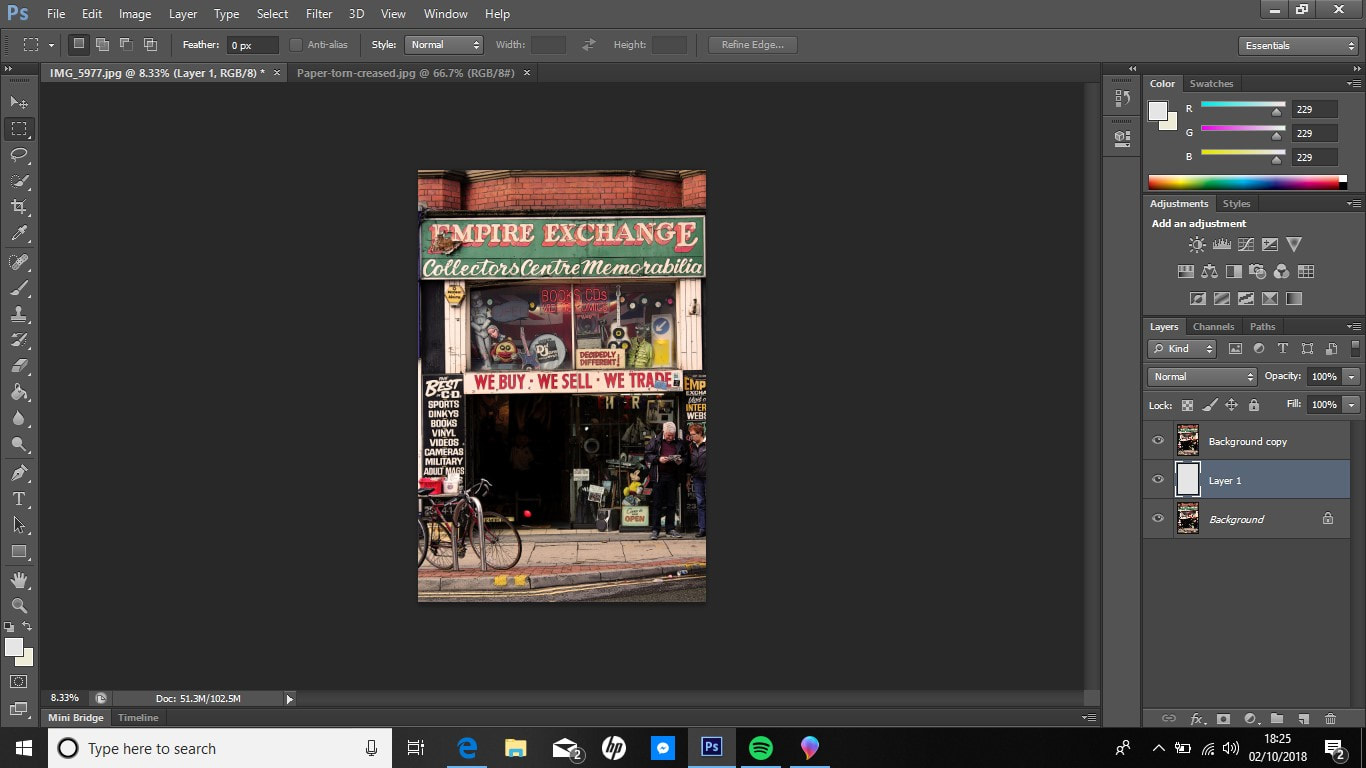
5. Click 'Alt' and 'Delete' together to fill this layer with this colour. Move the 'Layer 1' below the 'Background Copy'.
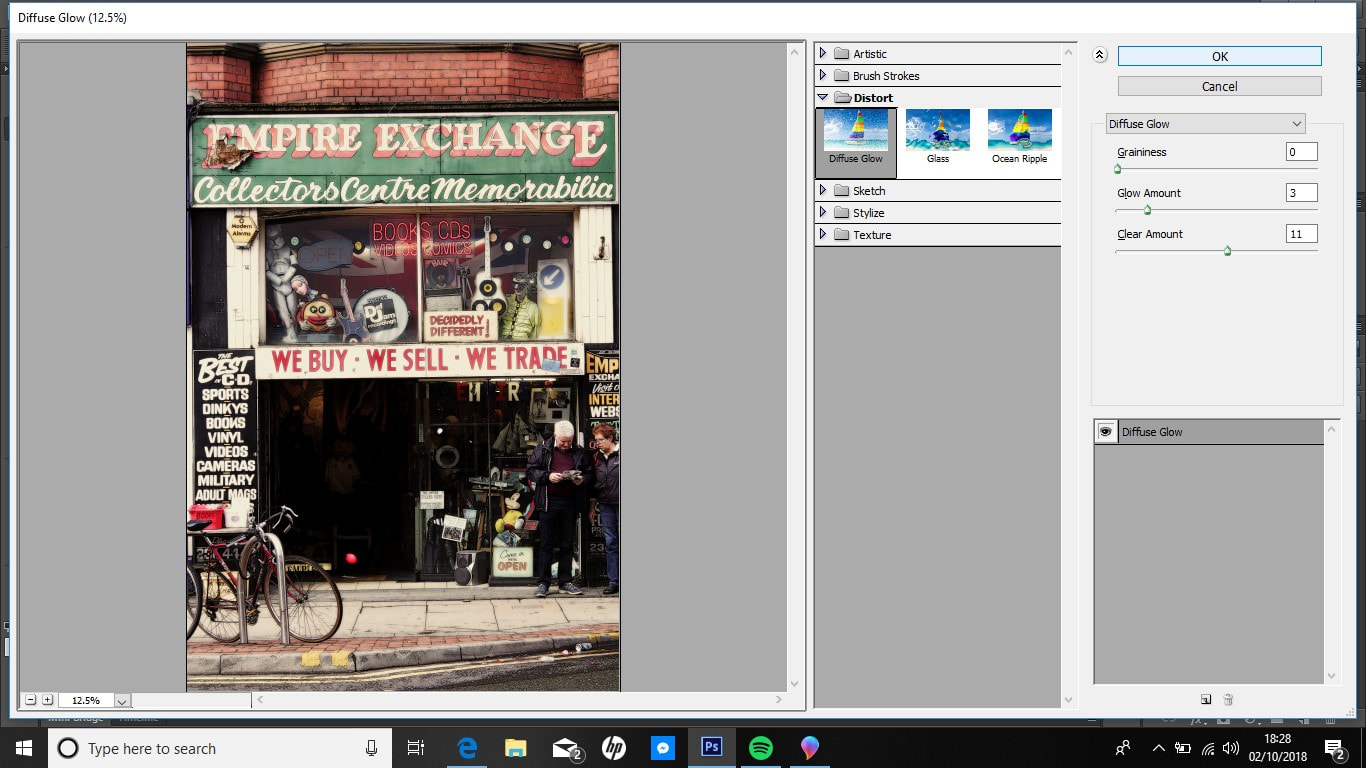
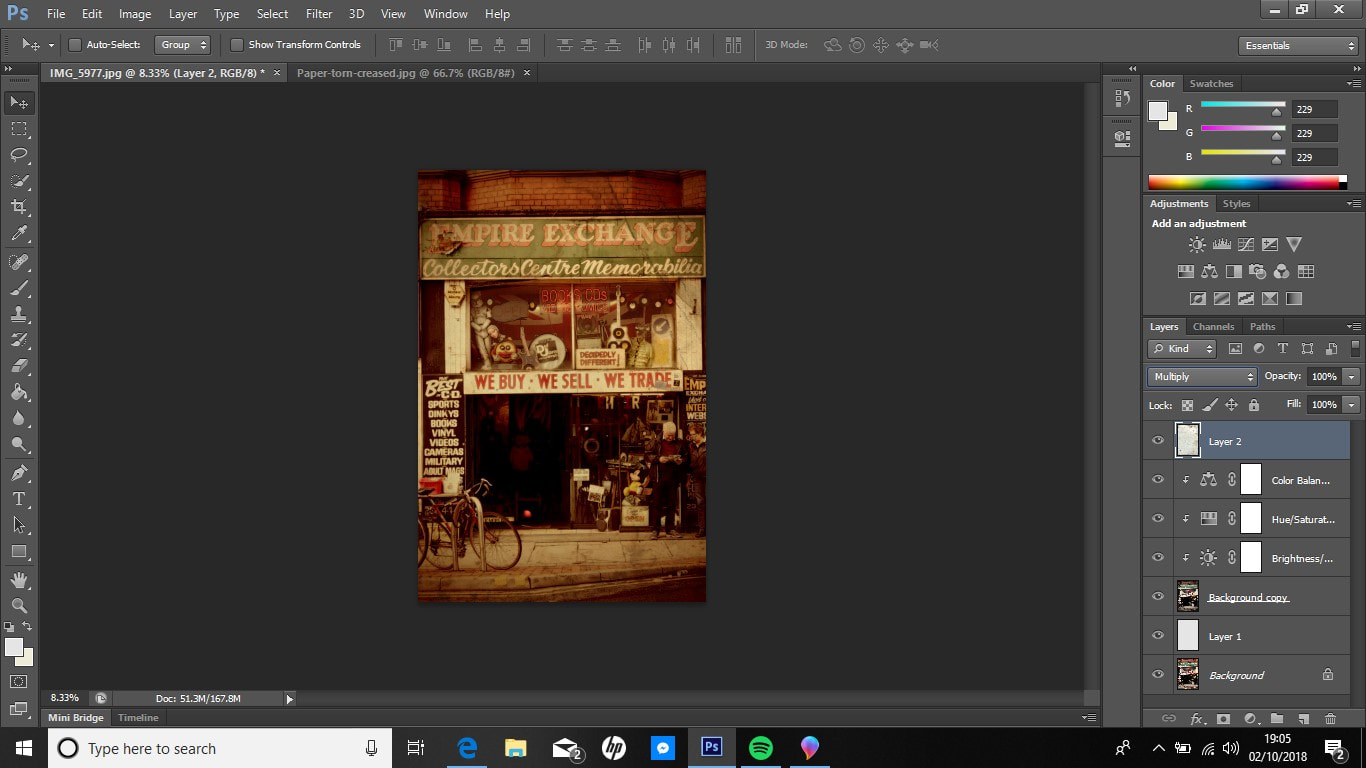
6. Select 'Background Copy, and go to the filter gallery in the 'Filter' selection at the top of the page. Then select 'Diffuse Glow' in the 'Distort' category. Make 'Graininess' 0, 'Glow Amount' 3 and 'Clear Amount' 11 and click 'OK'.
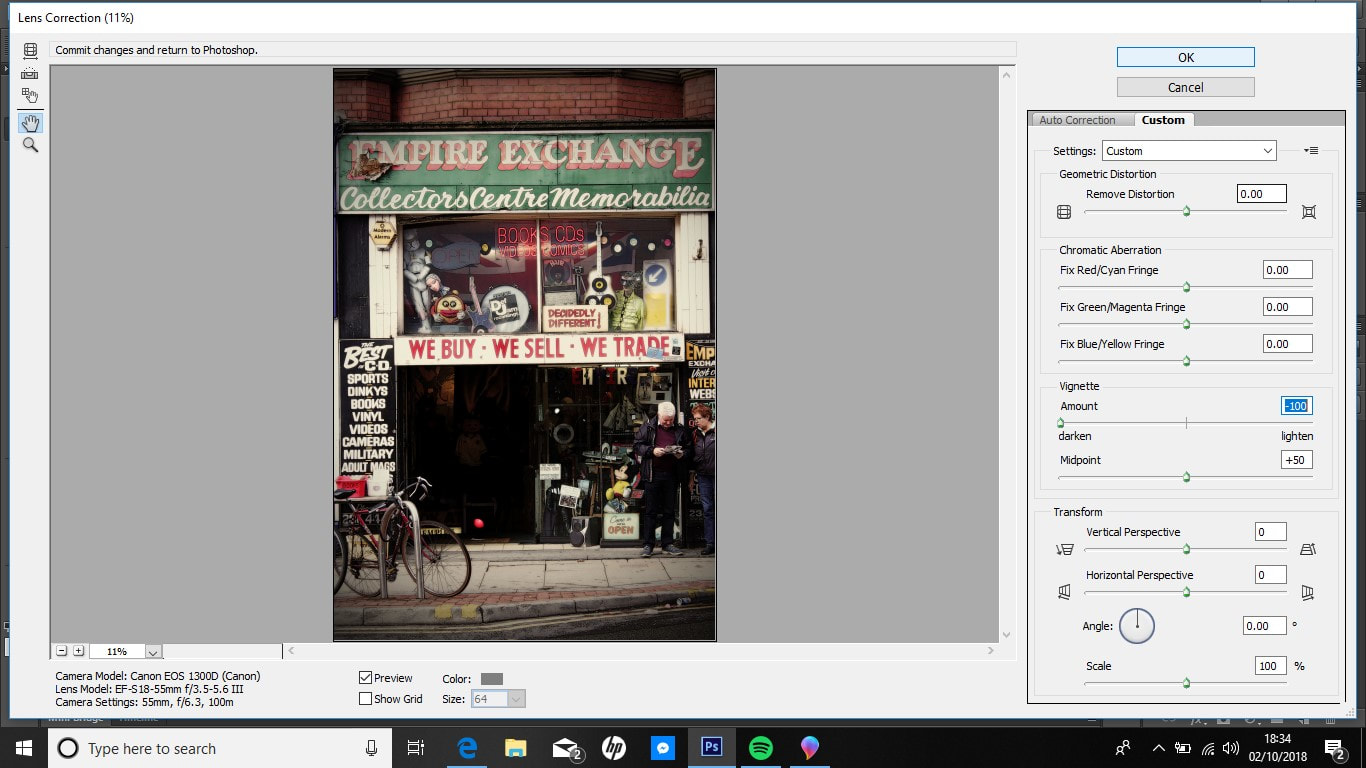
7. Go to the 'Filter' selection again and select 'Lens Correction'. Go to 'Custom' and make 'Vignette' -100 and click 'OK'.
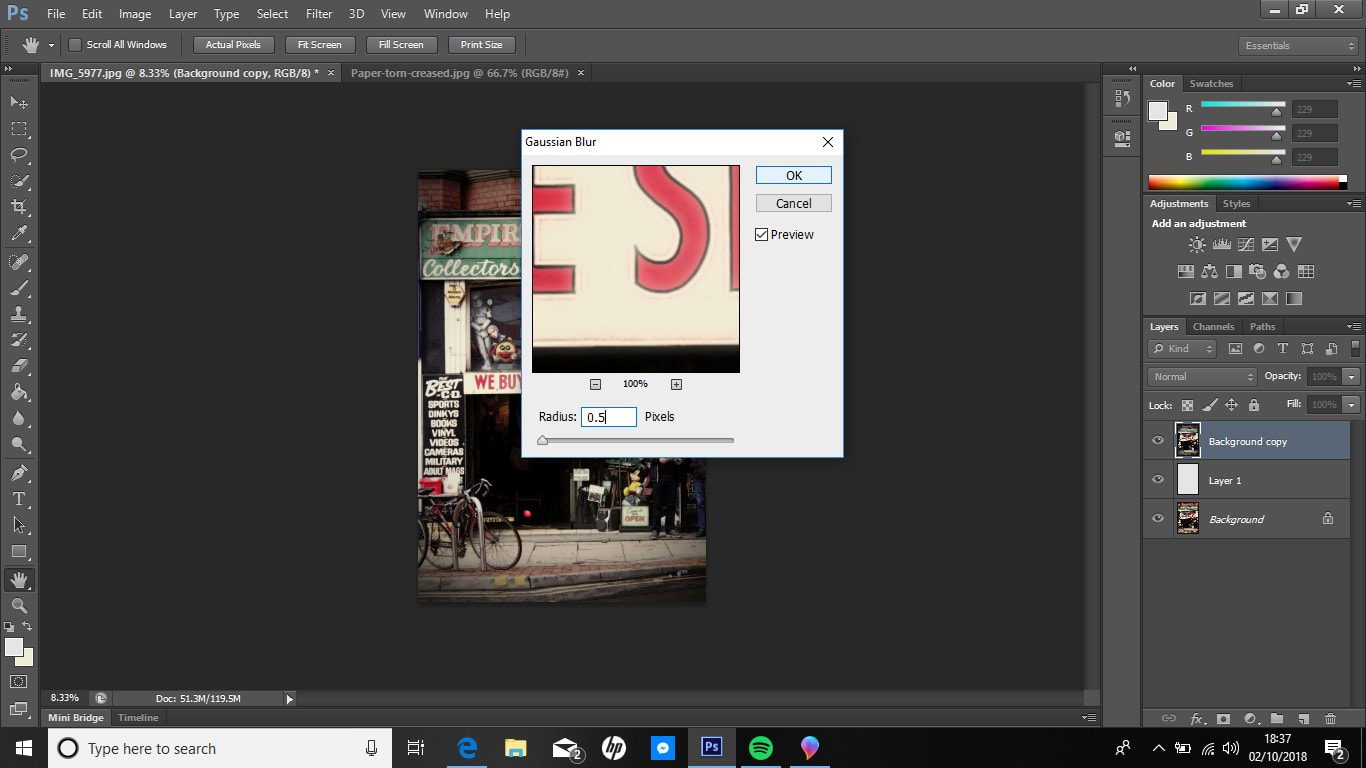
8. On the 'Filter' selection again go to 'Blur' and select 'Gaussian Blur'. Change it to 0.5 and click 'OK'.
9. Click the little half filled circle at the bottom right of the page and select 'Brightness/ Contrast'. Then click the little button with a square and arrow at the bottom of the pop up.
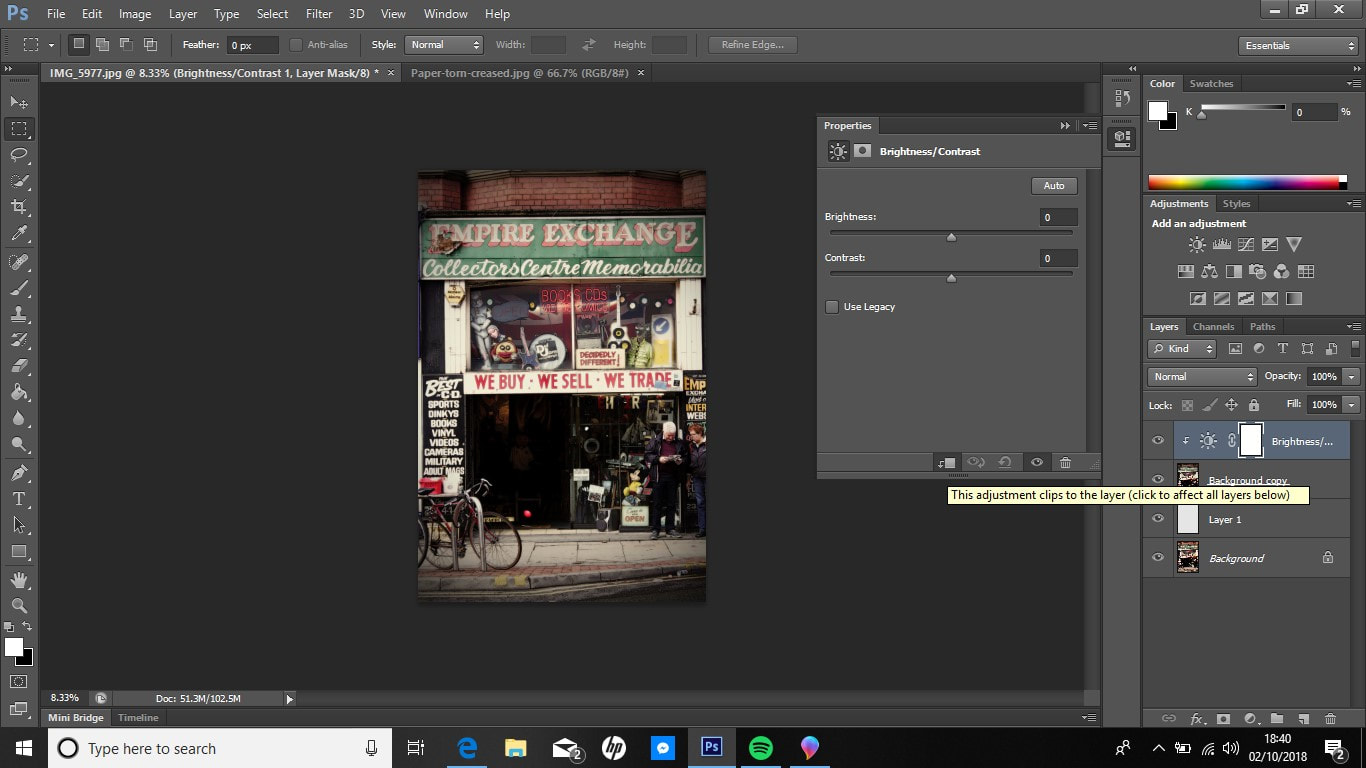
10. Now make 'Brightness' -10 and 'Contrast' -42.

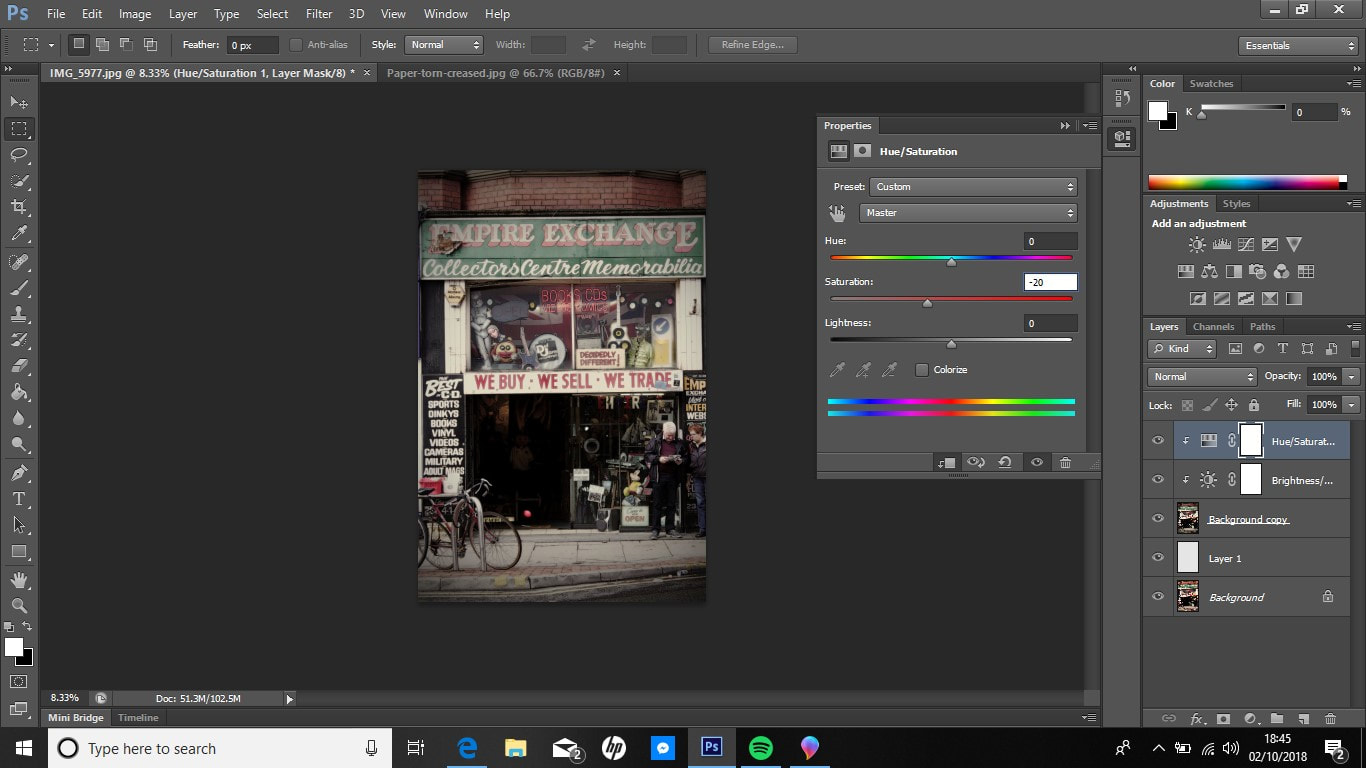
11. Then click the little half circle again and select 'Hue/Saturation' and click the folded piece of paper again. Then change 'Saturation' to -20.
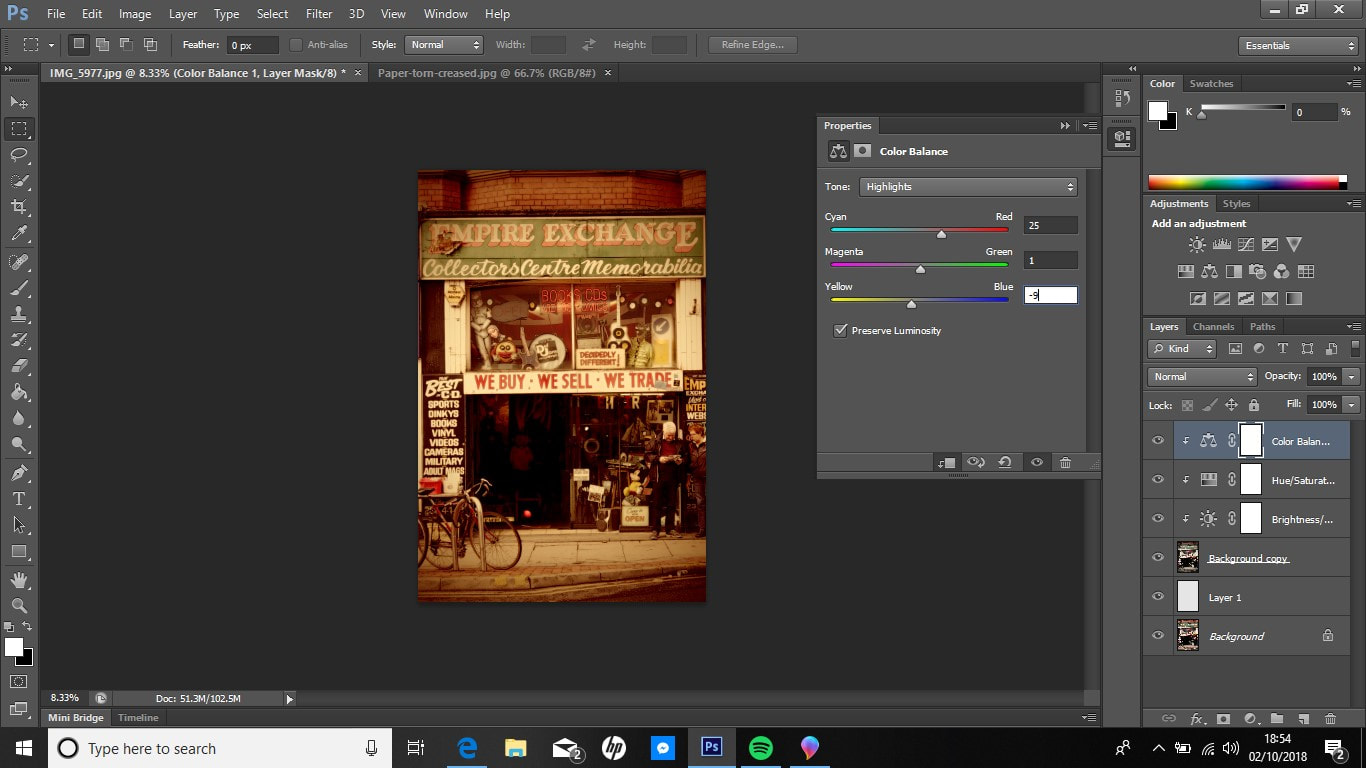
12. Click the half circle again and this time select 'Colour Balance' and click the folded piece of paper again. Click the 'Tone' selection and change it to 'Shadows'. Make 'Cyan'/ 'Red' -12, 'Magenta'/ 'Green' -40 and 'Yellow'/ 'Blue' -47. Then select 'Midtones' in the 'Tone' selection. Make 'Cyan'/ 'Red' -4, 'Magenta'/ 'Green' -34 and 'Yellow'/ 'Blue' -100. Now in the 'Tone' selection go to 'Highlights' and make 'Cyan'/ 'Red' 25, 'Magenta'/ 'Green' 1 and 'Yellow'/ 'Blue' -9.
13. Now go to the paper image you opened before. Holding 'Alt' drag the image onto the other image.
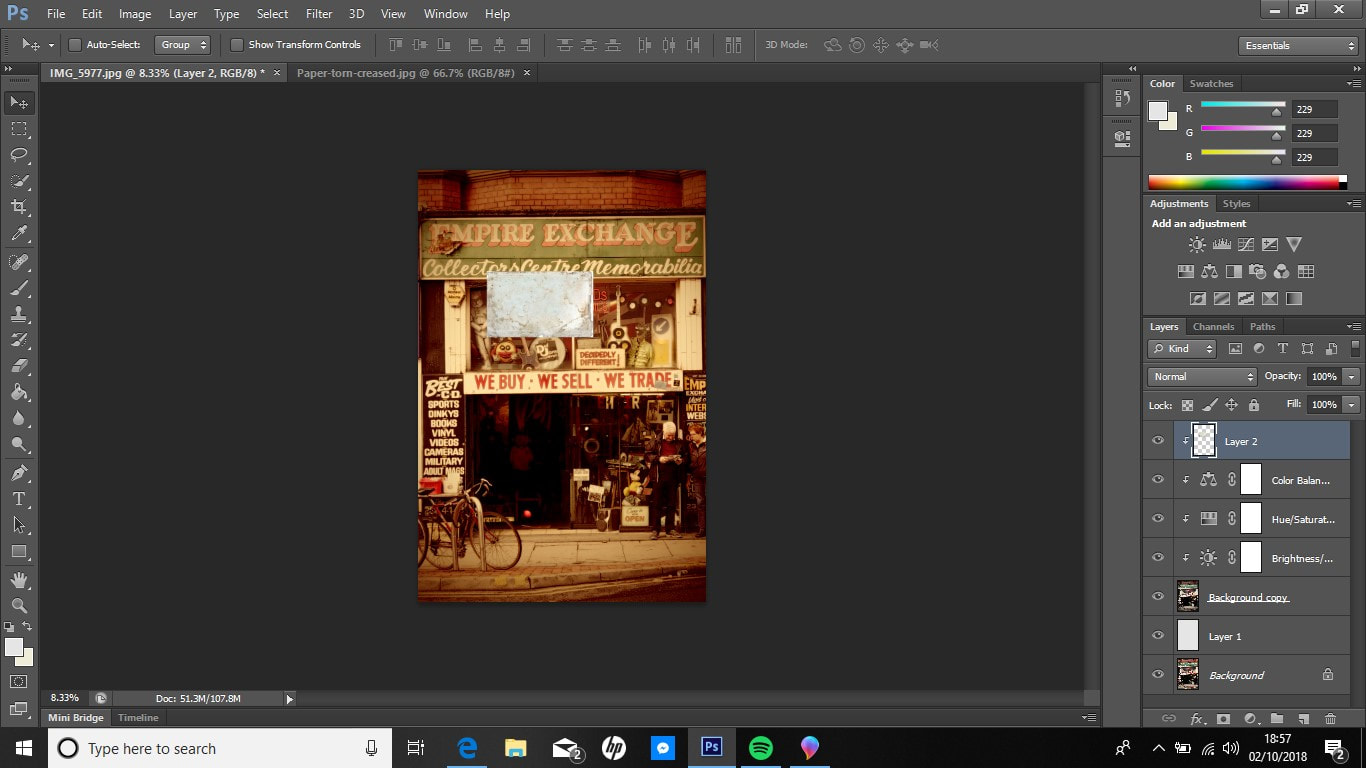
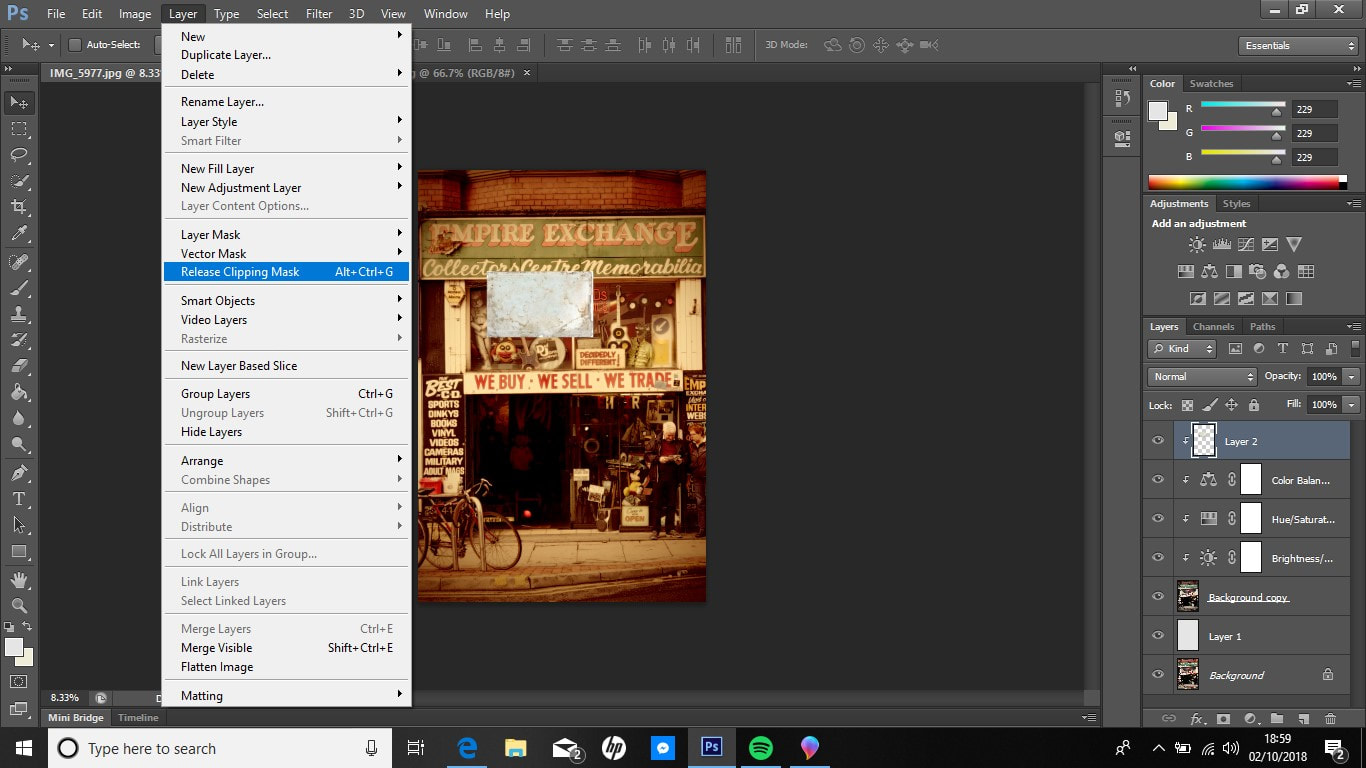
14. Go to the 'Layers' selection at the top and click 'Remove Clipping Mask',
15. Click 'Ctrl' and 't' together. Rotate the paper vertical. Then holding 'Alt' and 'Shift' make the paper larger than the original image, by dragging the sides and corners, so that the frayed corners of the papers don't overlap it. Then click the tick at the top of the screen. The paper should become less blurry then.

16. Change the opacity setting to 'Multiply'.
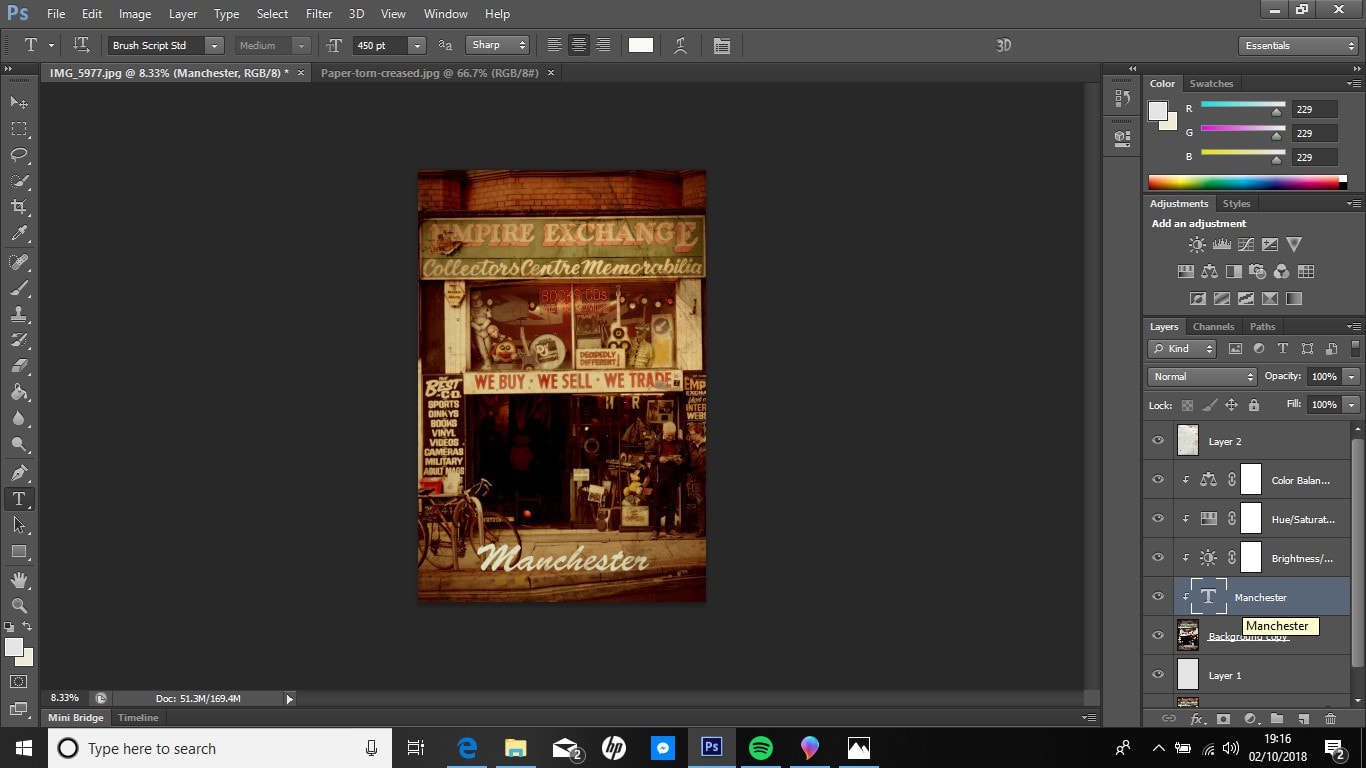
17. Click the 'T' button on the left hand side. Type 'Manchester'. Make it size '450 pt' and the font 'Brush Script Std'. Then click and tick and drag the text below the 'Brightness/ Contrast' layer. Then the poster is done.
This is the link to the YouTube video I used to edit my photo: https://www.youtube.com/watch?v=GaMDfvU7GUw
